

How To Make Things Look Glossy In Photoshop
How to Hands Add together Shine to Skin in Photoshop
Photoshop Mail service Processing
In the photo retouching process, there are a few challenges on the way to make your image looks just the fashion you want. There are a few steps that may crave some more time than others, and one of those steps is the skin shining function. The about common mode to add shine to the skin is by using the Dodge and Burn, merely with this method you may miss some natural lights or even create new ones that are non in the original image. The method I volition show you today, volition but work with the original photo lights and will enhance your skin shine in less than 5 minutes while keeping the ability to adjust the issue even after you brand information technology.
Merely before we begin, and if you desire to follow this tutorial exactly every bit described, please download the following free image from Pexels: Download.
Pace 1
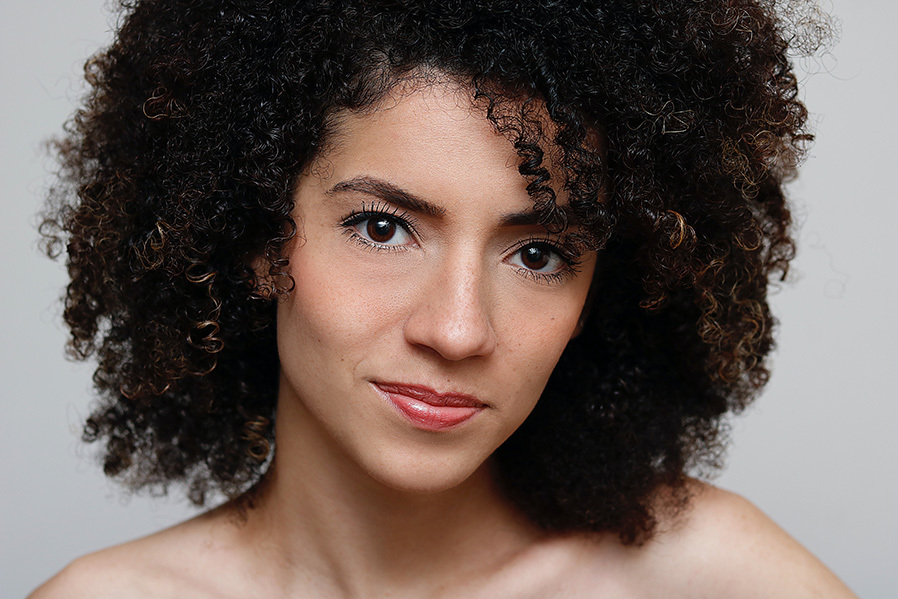
Open your image in Photoshop.
Step two
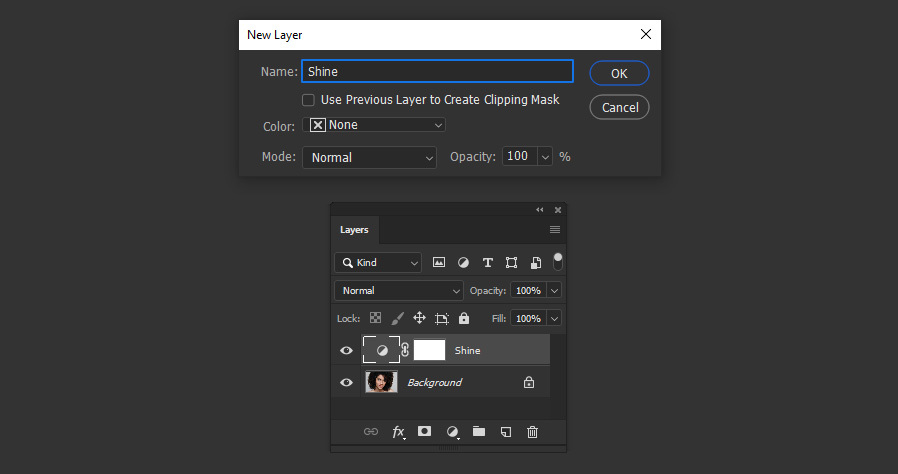
Go to Layer > New Adjustment Layer > Curves. Name this layer every bit "Shine" and click OK.
Step 3
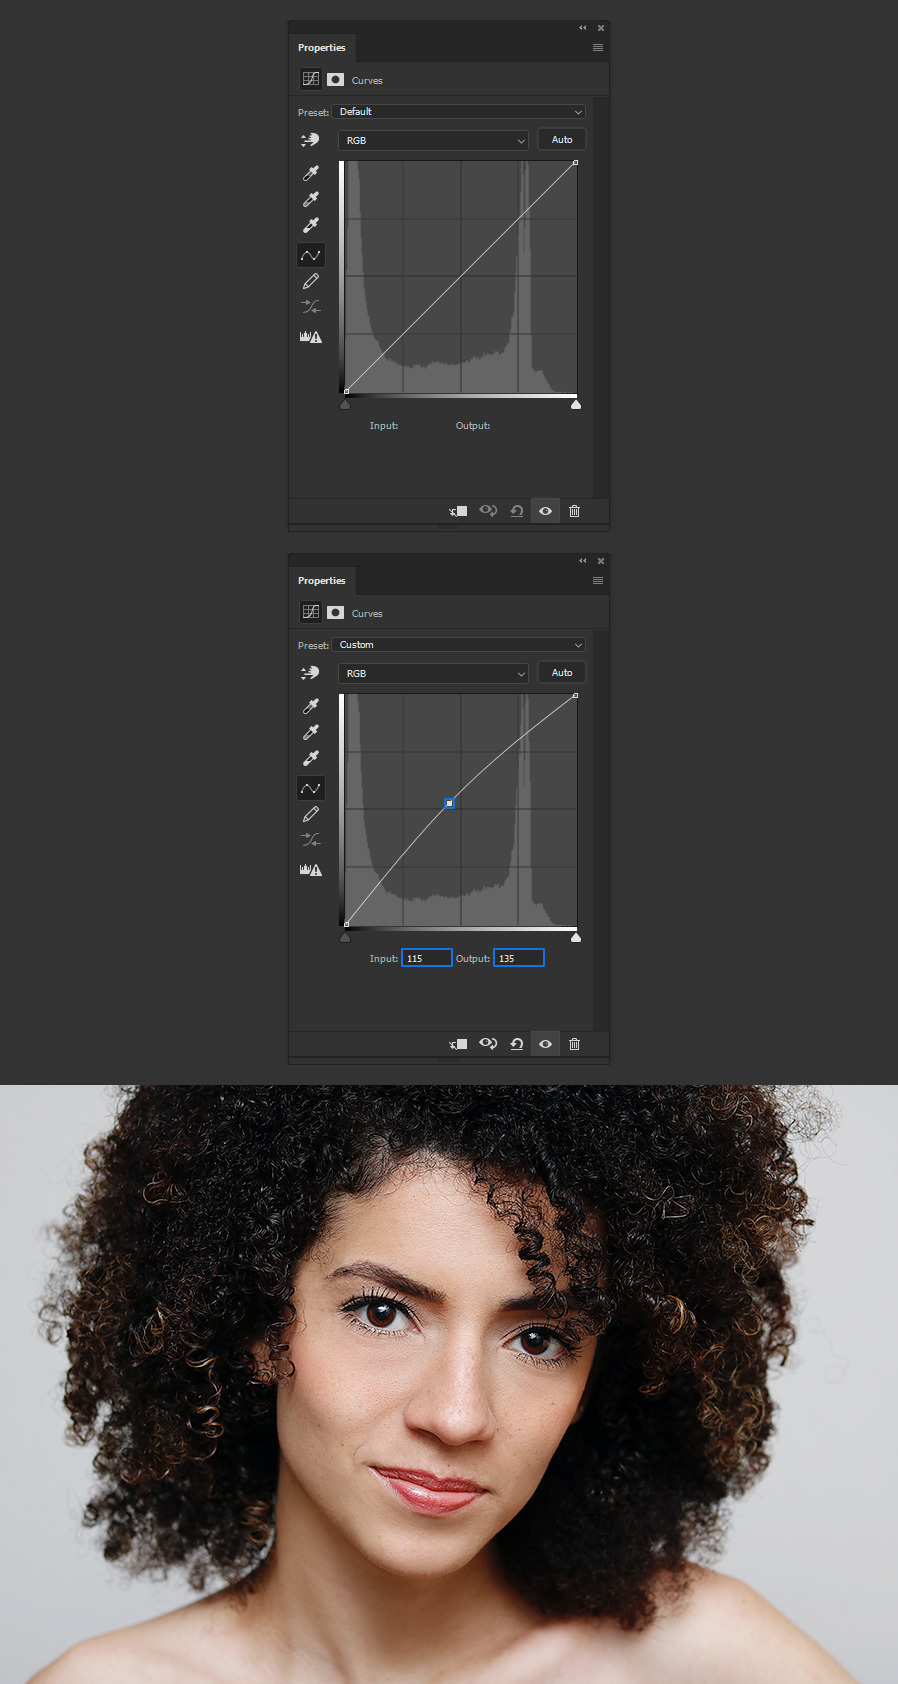
In the Curves Properties panel, add together a new anchor point by clicking anywhere over the curve and set the signal Input to 115 and the Output to 135.
Pace four
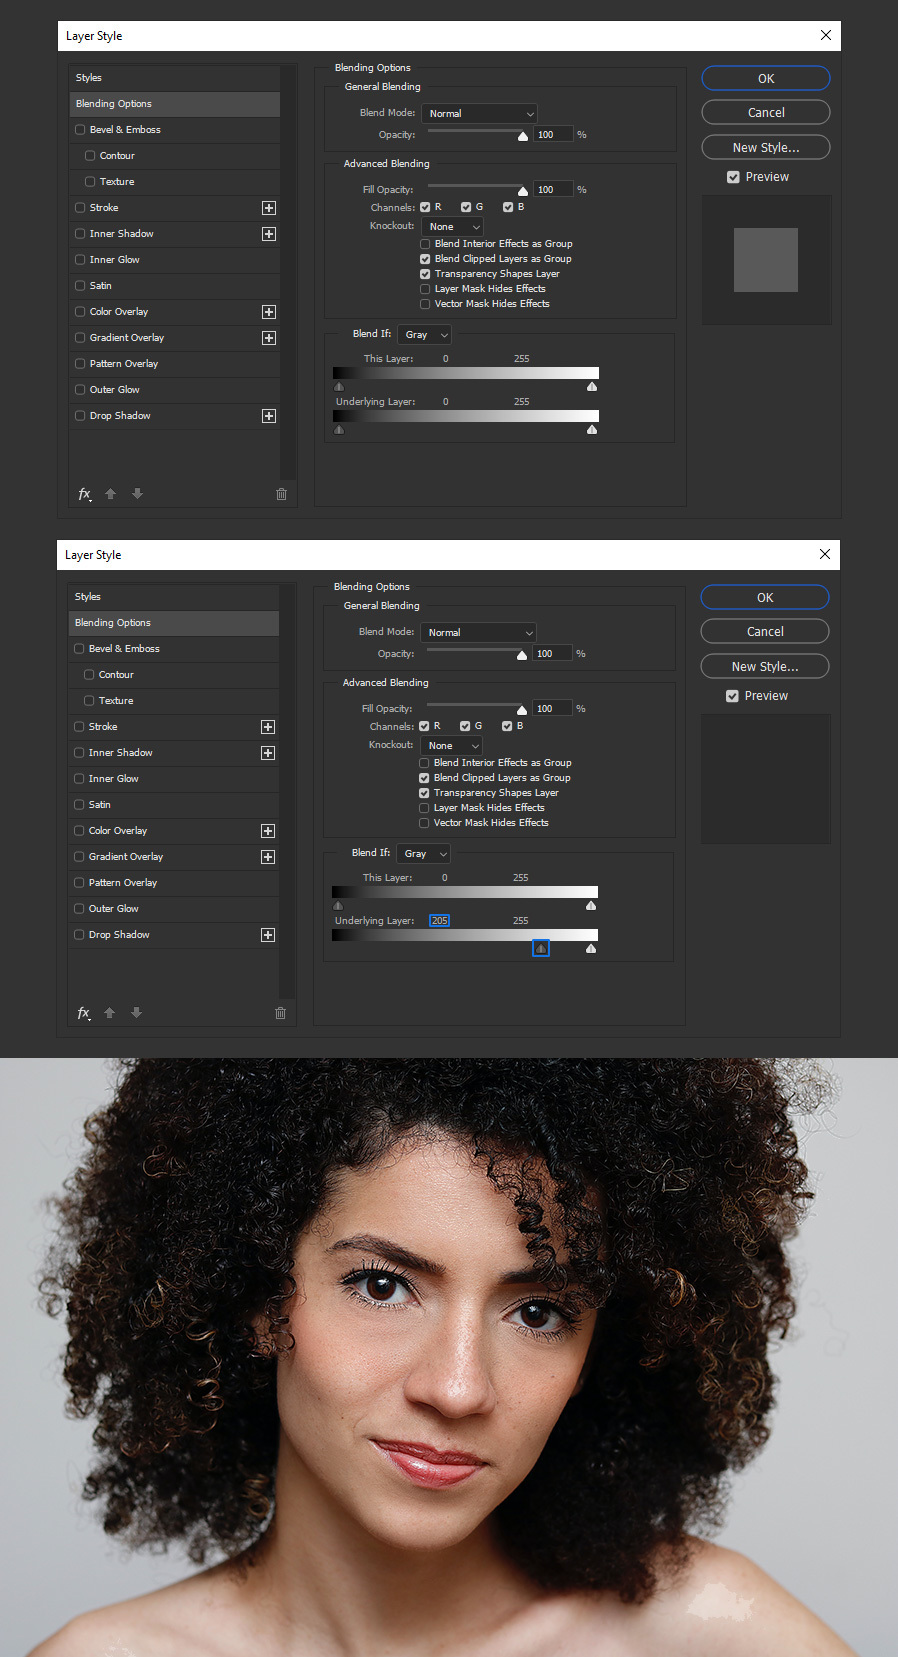
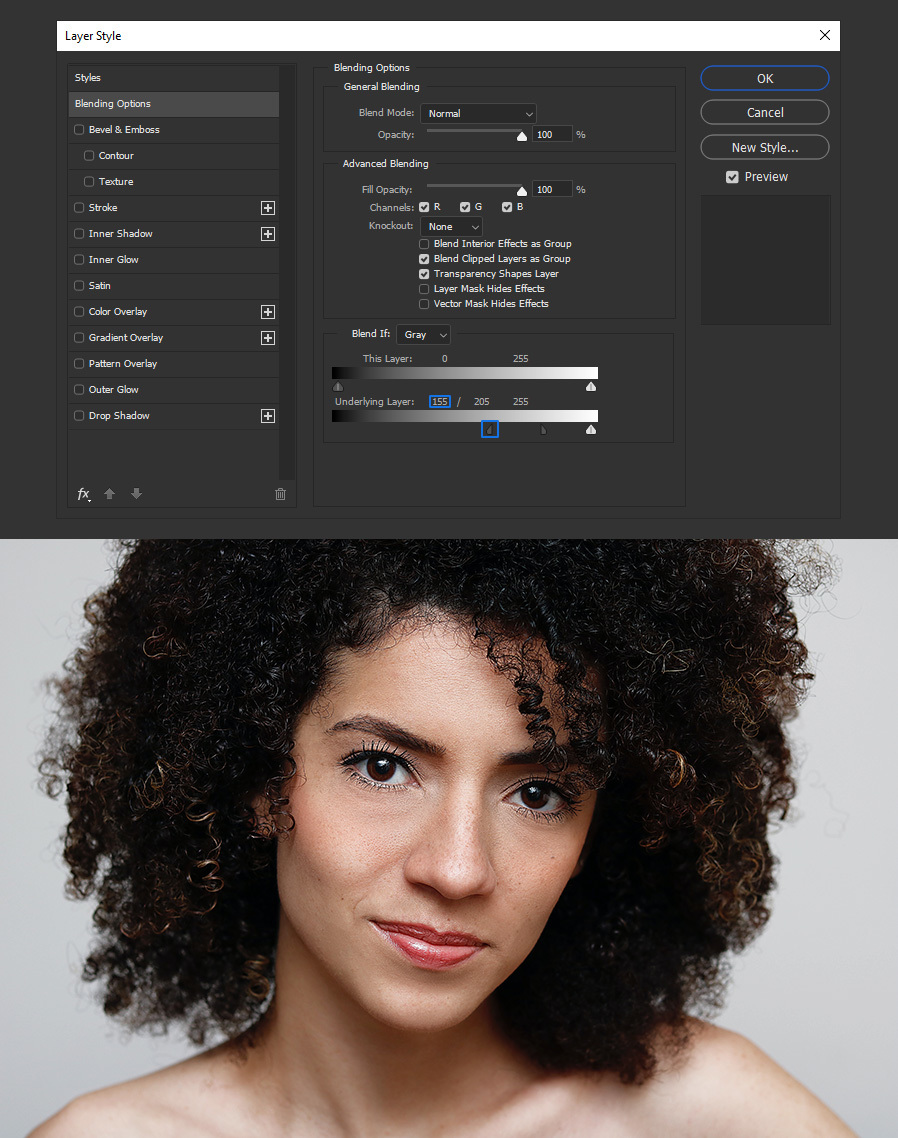
With the "Shine" layer selected, go to Layer > Layer Mode > Blending Options. Drag the black slider of the "Underlaying Layer" until you reach a value where the more shining part of the pare becomes more noticeable (in this image, the shoulder), which in this case is a value of 205.
Pace five
Hold the Alt key (to split the slider in 2) and drag the black slider of the "Underlaying Layer" until you reach a value where that shining area is smoother, which in this case is a value of 155.
Step six
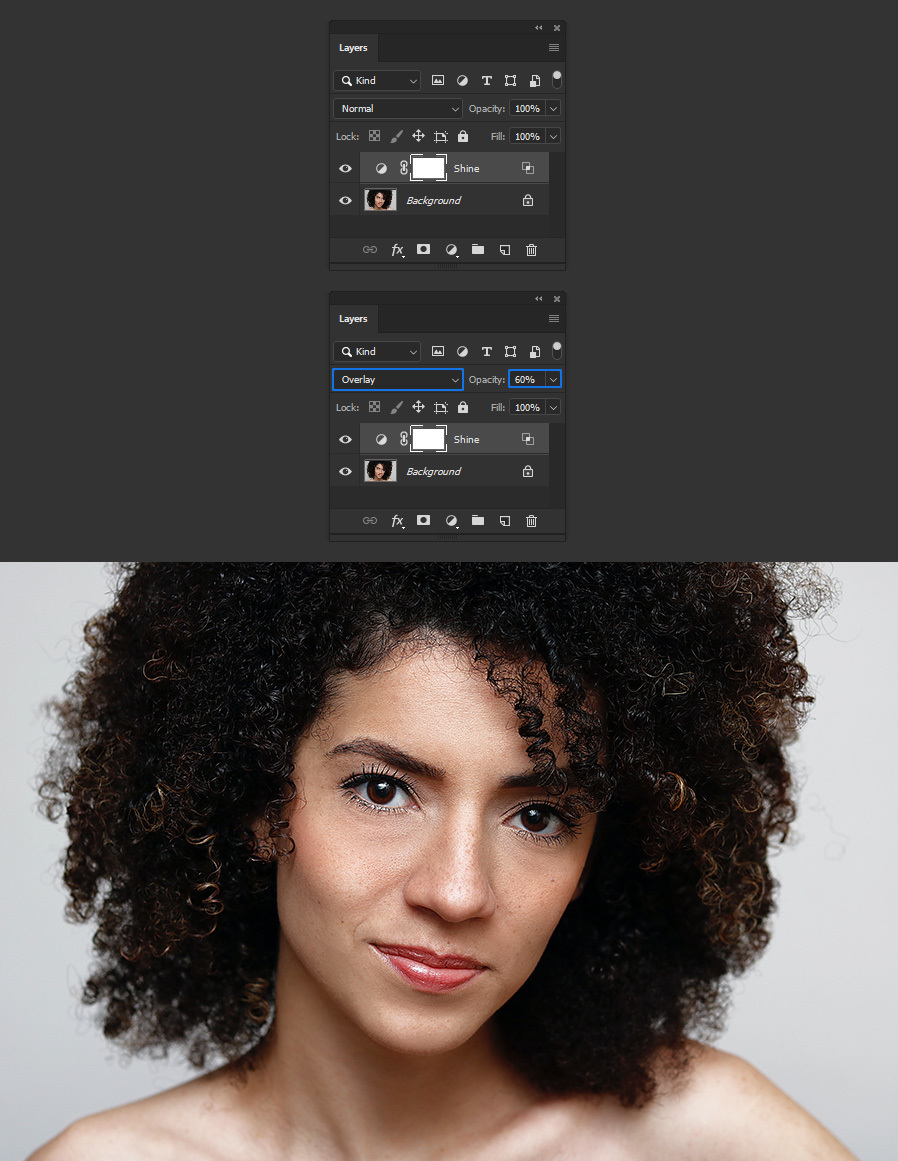
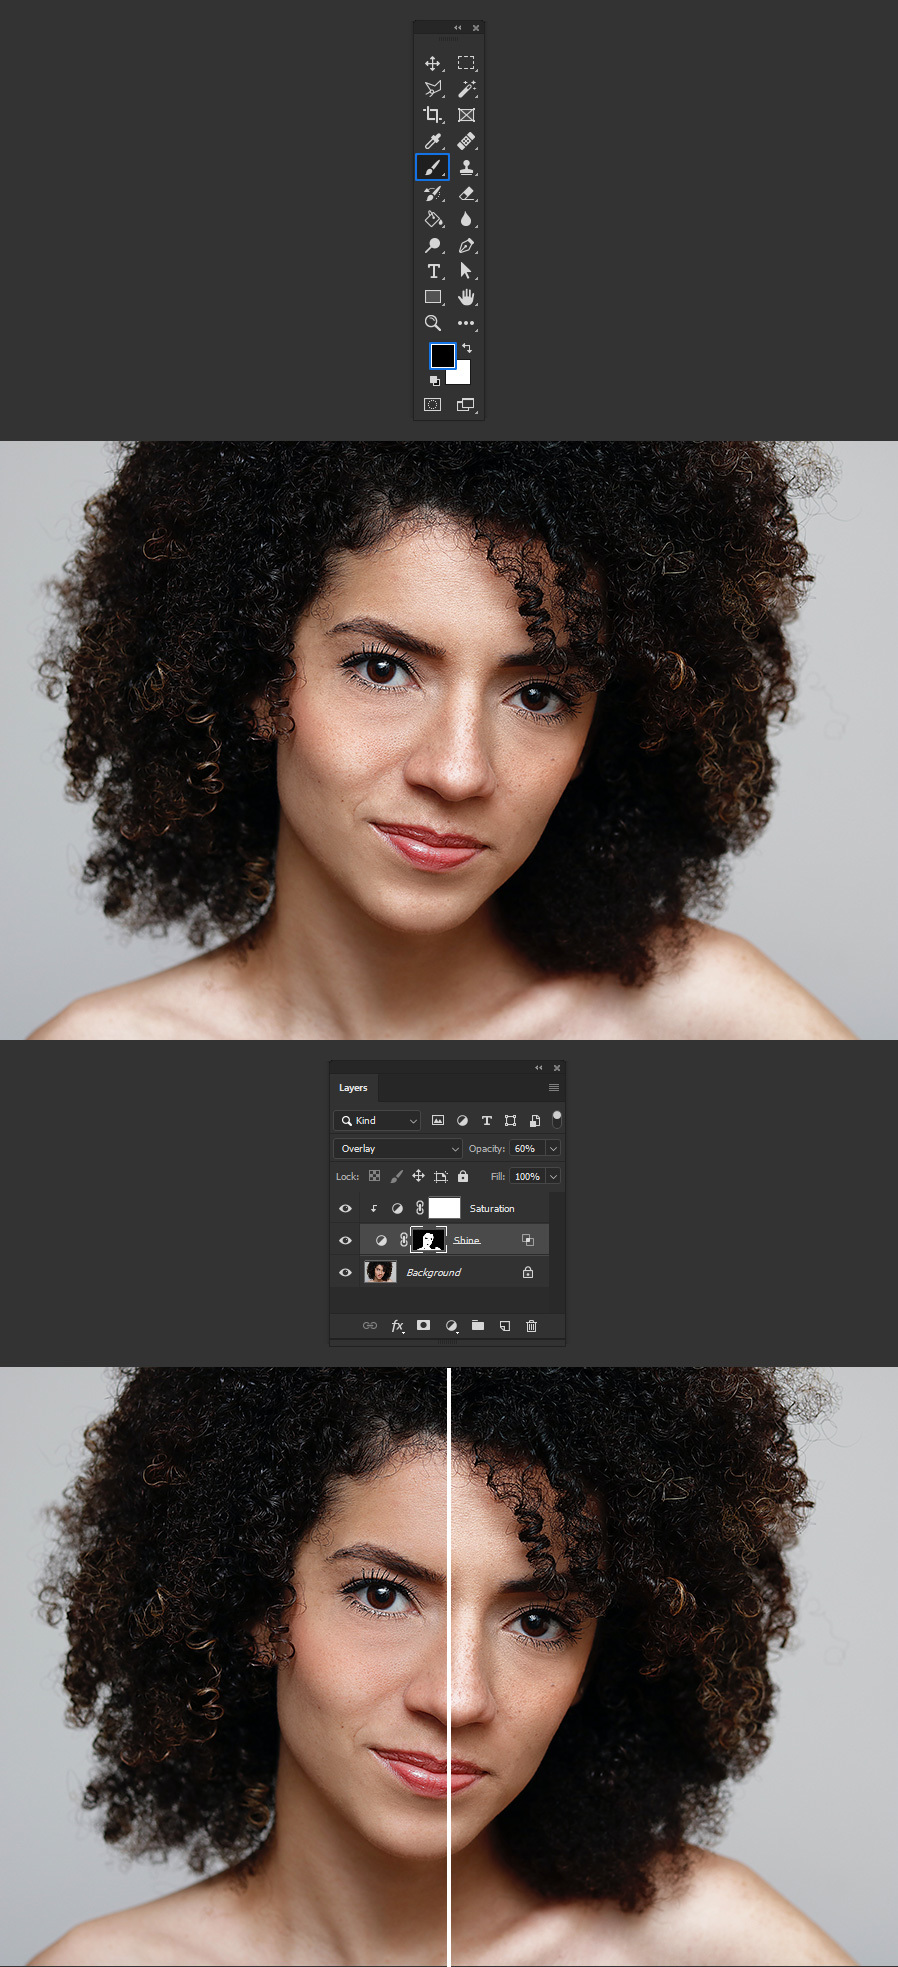
In the Layers Panel, ready the blend mode of the "Shine" layer to Overlay and bring down the Opacity to most 60%.
Step 7
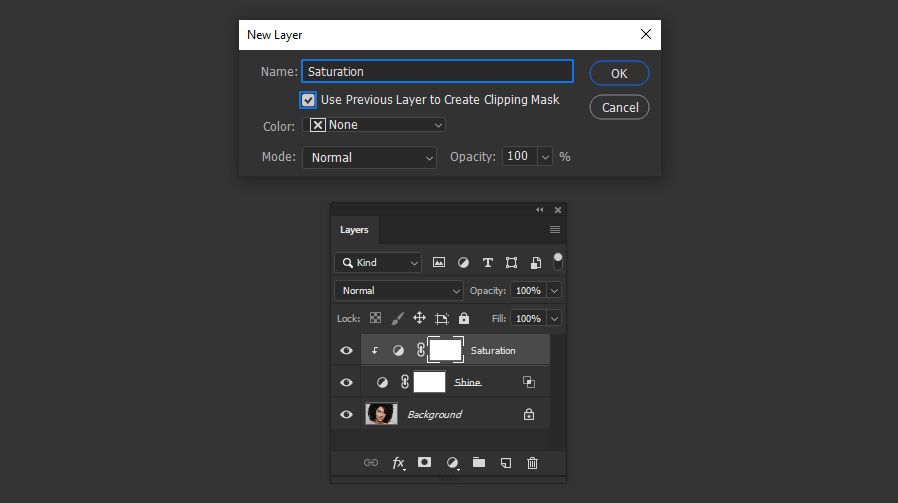
Go to Layer > New Aligning Layer > Hue/Saturation. Proper name this layer every bit "Saturation", check the "Employ Previous Layer to Create Clipping Mask" and click OK.
Step eight
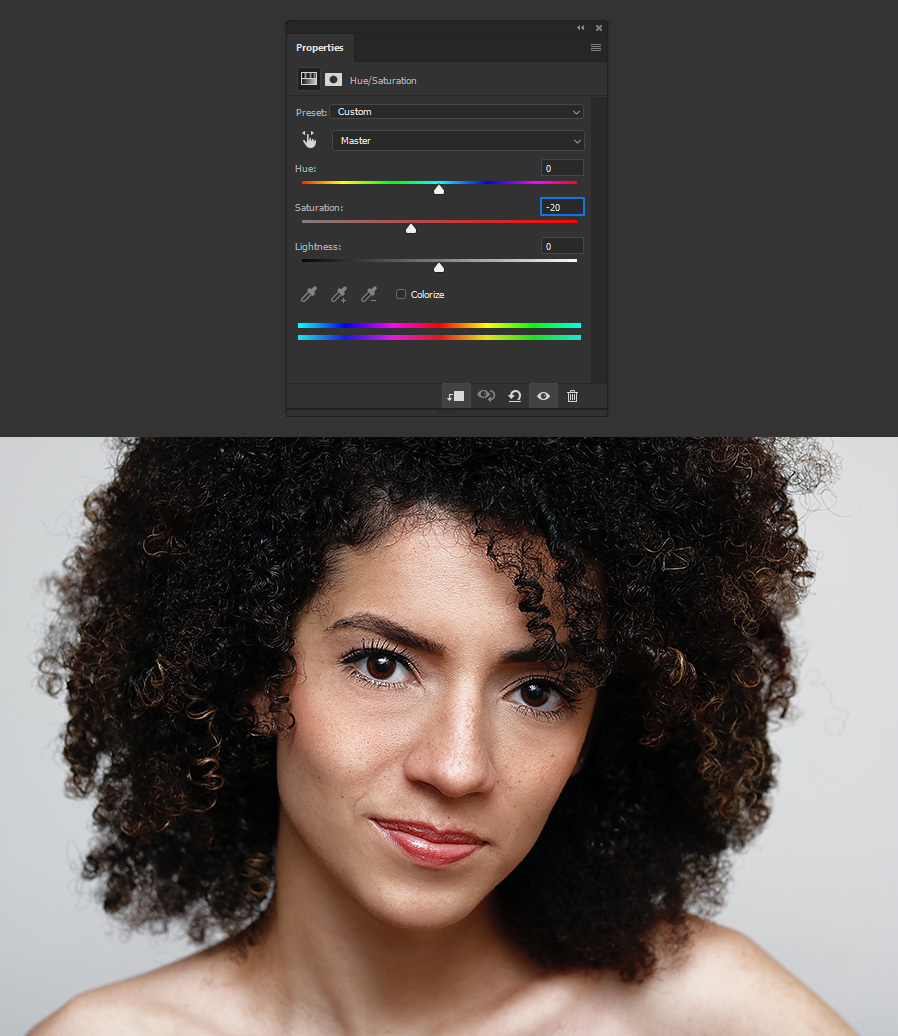
In the Hue/Saturation Properties console, set the Saturation to -20.
Footstep 9
Click the Layer Mask Thumbnail of the "Smooth" layer to make it active.

Stride ten
Lastly, select the Brush Tool (B) and using a black soft rounded castor pigment outside the pare areas to hide them.
Source: https://we.graphics/blog/how-to-easily-add-shine-to-skin-in-photoshop/
Posted by: wilkinsbutile.blogspot.com
0 Response to "How To Make Things Look Glossy In Photoshop"
Post a Comment